 This project actually started out as just practice for using my new bat stamper. It was about $2 at Joann’s but you can make your own rubber stamps for super cheap using erasers, craft foam, potatoes, or artist carving block. Since each card is mildly time-consuming, this style of Halloween invitation is best used for events where only a few people will be invited. Alternately, you could just make a handful of these and send them to your most Halloween-loving guests, and send pre-prepared invitations to everyone else.
The simple version of this project requires:
- Black construction paper
- Rubber stamp(s) of your choice
- White acrylic craft paint + brush
 Just fold the construction paper into the size you want (I had small paper so I just had to fold once, no cutting required, but an 8″ x 11″ sheet will obviously require some size reduction). Coat the stamp with a THIN layer of craft paint, and do a test stamp to get the hang of it. I don’t do much stamp art so it took me a couple tries to make sure I was getting an even coat, but you can still see the streaks on he bats. Arg! On the inside just freehand the basic Who What When Where invitation info and doodle some little creepies if you’re feeling especially artistic. Go slow with the gel pen since white on black writing can become nearly invisible if you rush it. Unless you’re inviting particularly farsighted guests they should be able to read everything, and yet appreciate the not-so-perfect, hand written words. At first I was tempted to embellish since the card was so monochromatic and simple, but after a moment I realized how good it already looked. The ink is slightly uneven, the wording is succinct, and it’s simple and spooky just the way I like it. Of course, you may find all sorts of ways to add onto your card, so if that’s your style, go crazy!
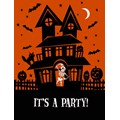
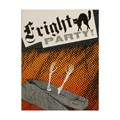
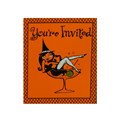
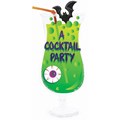
If you’re running short on time, Buy Costumes (best online Halloween ever, IMO) has some cool readymade Hallloween invitations:


Drop a comment & leave your mark...
*All comments are moderated*